

How To Install Vinyl Drip Cap Over Window

Fine Homebuilding Project Guides
Windows & Doors
Baste Cap Design and Installation
The lowly drip cap needs to be taken more seriously to prevent leaks and rot.
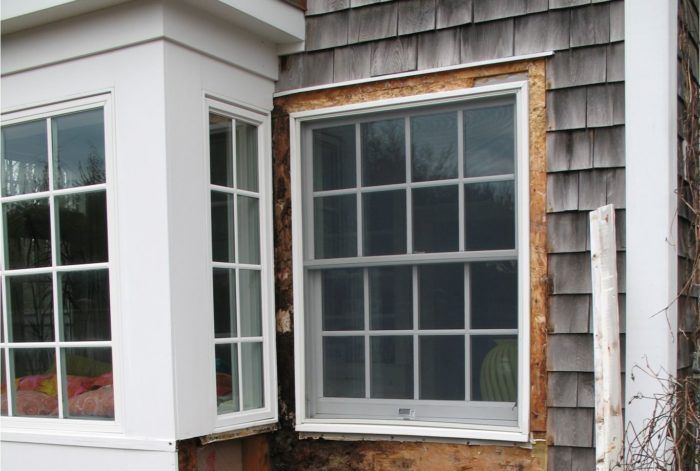
Early in my building career nosotros ordered the stock uncoated aluminum drip caps from our local building materials supplier to install over window and door head trim and brim boards / band boards. The back leg was only an inch and drip leg was just a square xc degree 1/4 in. drop — barely large enough to keep wind-driven h2o from getting backside the siding. And not very durable.
 Mike Guertin 2018")
After years of making repairs to homes with insufficient drip caps, where water leaked by the flashing and rotted parts of the wall, I started making my own drip caps and installed them — and the siding over them — to perform their intended role: Go along water out of the wall and bleed it away.
The impairment from inadequate and improperly installed drip cap flashing tin can be devastating. Small water leaks into walls mostly aren't noticed by homeowners. Years can go by before a leak is discovered and past so the rot inside can be extensive.
Even if the flashing doesn't leak it can exist installed improperly and lead to siding disuse. To piece of work well, the top of a cap flashing has to slope away from the wall so water volition drain. Too often the top of cap flashings are flat or even sloped dorsum towards the wall. This is often the case when the siding is installed tight to the top of the cap flashing. Even the pocket-size amount of h2o that sits on a flat cap flashing can wick into the siding and over the years lead to decay.
 Mike Guertin 2018")
I make my own cap flashings. I outset with a minimum of 0.019 in thick aluminum whorl stock. 0.019 in. or 26 gauge is the minimum thickness called for in the building code for many specific flashings. Unfortunately, many cap flashings stocked at materials dealers are thinner, so they won't fifty-fifty see the code minimum.
I make the wall leg alpine — 4 in. to 5 in. This provides for a decent overlap by the housewrap and the siding. A 15 caste slope on the acme of the flashing helps h2o drain off rapidly. The drip leg is at least 3/4 in. and I include a one/iv in. to iii/8 in. outward boot along the lesser. This does two things — it pushes the water a piffling farther out away from the trim the flashing is protecting, and it helps stiffen the bottom edge so information technology stay straight as the metallic expands and contracts with temperature.
 Mike Guertin 2018")
So when it comes to installing the siding, I make certain to exit at least 3/8 in. gap betwixt the flashing and bottom of the siding and then h2o won't wick.
 Mike Guertin 2018")
 Mike Guertin 2018")
 Mike Guertin 2018")
It takes a little more fourth dimension to bend a prissy baste cap flashing but information technology's the correct thing to do. And it no actress time to install a good cap flashing properly and the siding over it to avoid problems later – and so there are no excuses.
www.mikeguertin.com @mike_guertin
Previous: How to Install a Improve Window Caput Trim and Baste Cap Next: Flashing on a Curve
Source: https://www.finehomebuilding.com/project-guides/windows-doors/drip-cap-design-installation
Posted by: floresloguithat36.blogspot.com
0 Response to "How To Install Vinyl Drip Cap Over Window"
Post a Comment